
You almost put that dresser out on the curb last month, didn’t you?
Something stopped you maybe it was the solid wood construction that no $200 big-box piece could match, or maybe it was just a gut feeling that it deserved a second chance. That instinct was right. Upcycled furniture ideas are having a real moment right now, not because thrifted decor is trendy, but because people are tired of paying full price for particleboard that won’t survive a move.
Here’s the promise of this guide: 14 real, doable upcycled furniture projects, organized by budget and skill level, so you can walk into your garage, basement, or the nearest thrift store this weekend and actually finish something. Stick around for the ladder idea at #4 it’s the one most beginners skip because it looks harder than it is, and it’s actually one of the easiest projects on this entire list.
Save this list for later you’ll want it the next time you spot a “curb alert” post in your neighborhood group.
Why Upcycling Furniture Beats Buying New
Before the projects, here’s the quick why: furniture makes up a surprisingly large chunk of household waste every year, most of it perfectly structurally sound pieces tossed because of a dated finish or a broken drawer pull. Vintage and secondhand furniture is also almost always built from solid wood, not the pressed particleboard common in budget new furniture meaning your upcycled piece will likely outlast a store-bought replacement.
So what does this mean for you? Every project below costs a fraction of buying new, keeps a solid piece out of a landfill, and gives your home something nobody else’s Target haul has.
What You’ll Need Before You Start
You don’t need a workshop. For most projects on this list, a basic kit covers you:
- Fine and medium-grit sandpaper (120 and 220 grit)
- A chalk paint or mineral paint (no priming required on most surfaces)
- A foam roller and angled brush
- Screwdriver and drill
- Wood glue and clamps
- Clear topcoat or wax for sealing
Budget tip: a full beginner kit runs $40–$60 and will get you through at least three or four of the projects below.
14 Upcycled Furniture Ideas to Try This Weekend
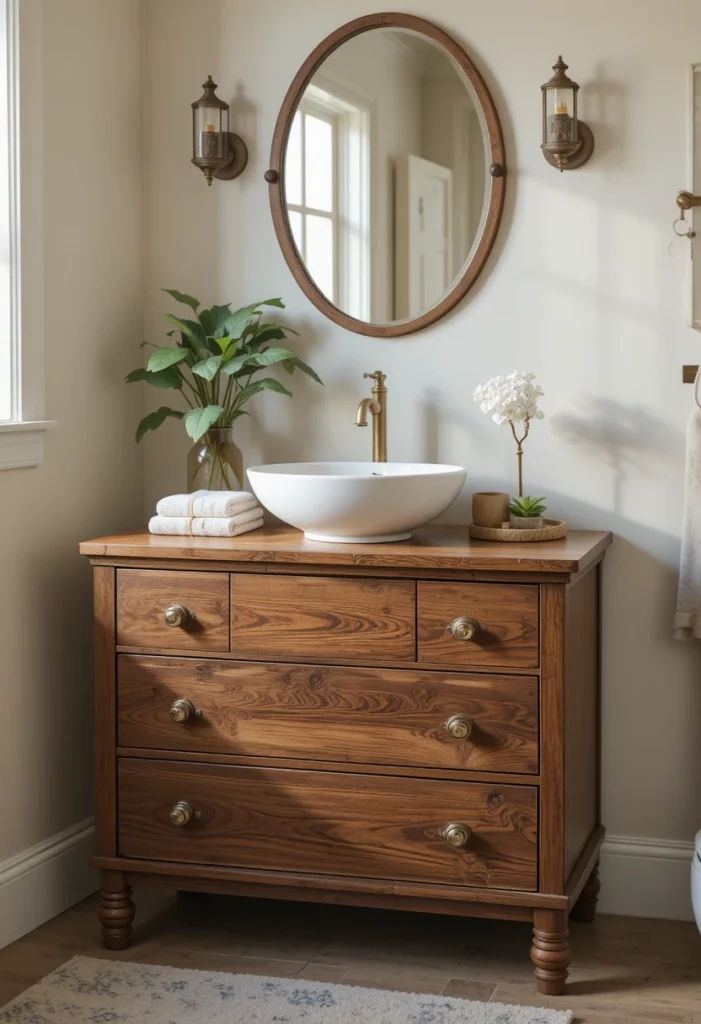
1. Turn an Old Dresser Into a Bathroom Vanity
Difficulty: Moderate | Cost: $50–$150
This is the upcycle that convinces skeptics. Take a solid-wood dresser, cut a hole in the top for your sink basin, and swap in a vessel sink and modern faucet. The drawers stay functional for towels and toiletries something most flat-pack vanities can’t offer.
Pinnable image idea: a before/after split shot, dated dresser on the left, finished vanity with brass hardware on the right.
Here’s the thing: always seal the interior of the cut drawer area with a waterproof sealant before installing plumbing, or moisture will warp the wood within a year.
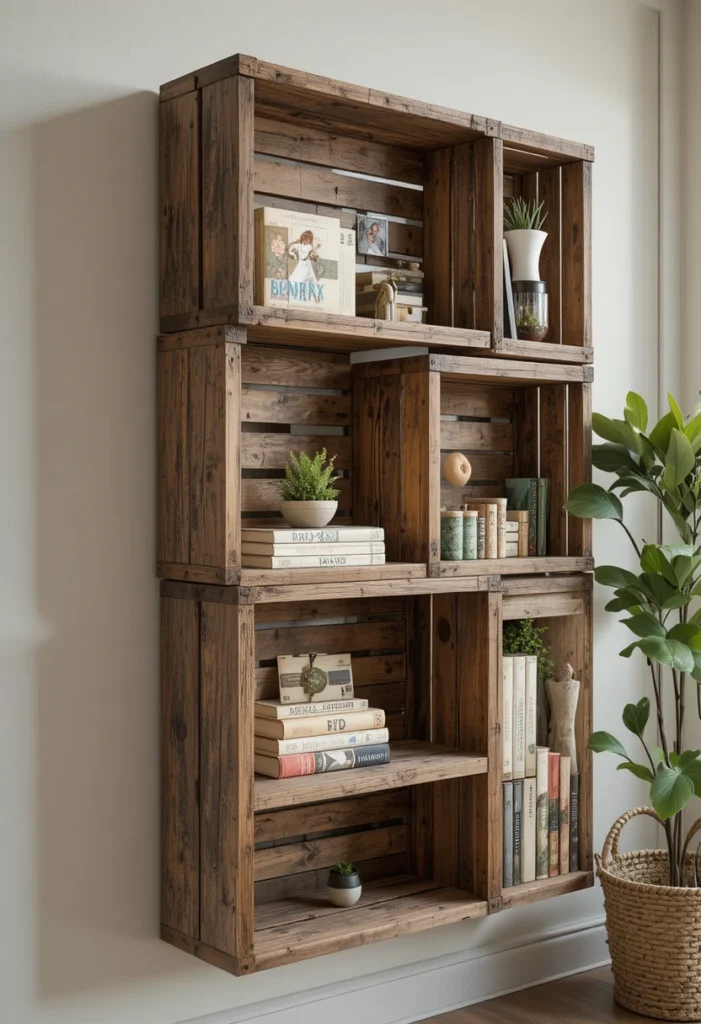
2. Stack Wooden Crates Into Wall Shelving
Difficulty: Easy | Cost: $15–$40
Wooden crates (produce crates, wine crates, or shipping crates) can be sanded, stained, and mounted directly to a wall as open shelving. Stagger them for visual interest, or stack and bolt them together for a freestanding bookshelf.
- Sand all rough edges first
- Stain or paint before mounting
- Use L-brackets, not just wall anchors, for anything holding books
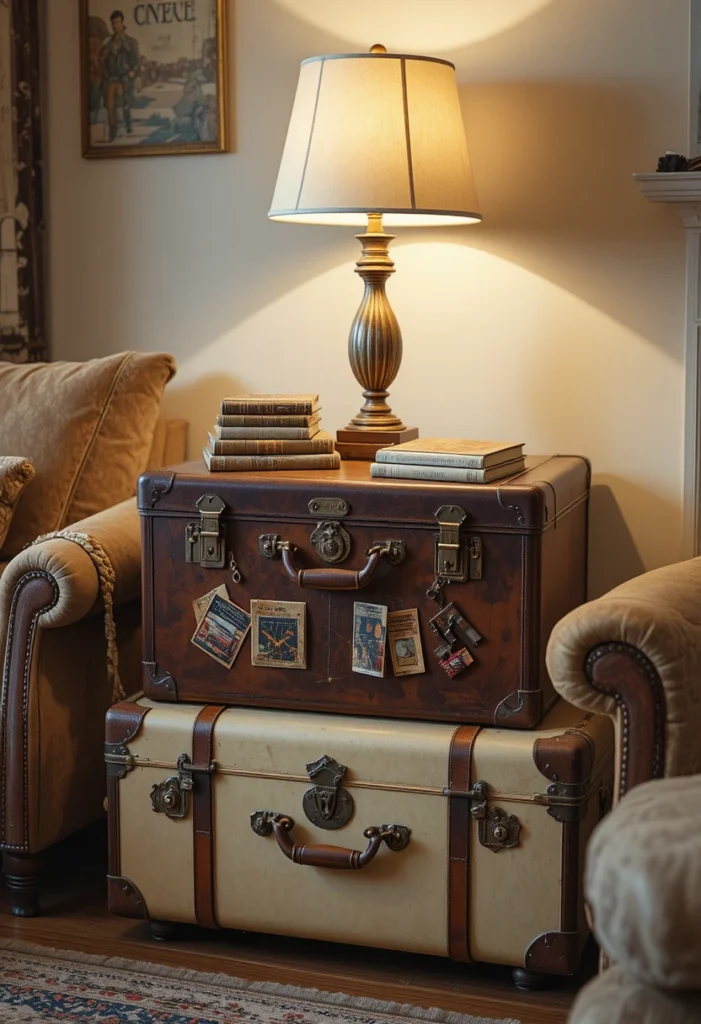
3. Turn a Vintage Suitcase Into a Side Table
Difficulty: Easy | Cost: $20–$50
An old hard-shell suitcase plus a set of screw-in furniture legs equals a one-of-a-kind side table with hidden storage inside. This is one of the most photographed upcycles in the DIY world for a reason it’s instantly charming and takes under an hour.
Quick summary: suitcase + 4 hairpin legs + wood glue = a $30 side table that looks like a $300 vintage find.
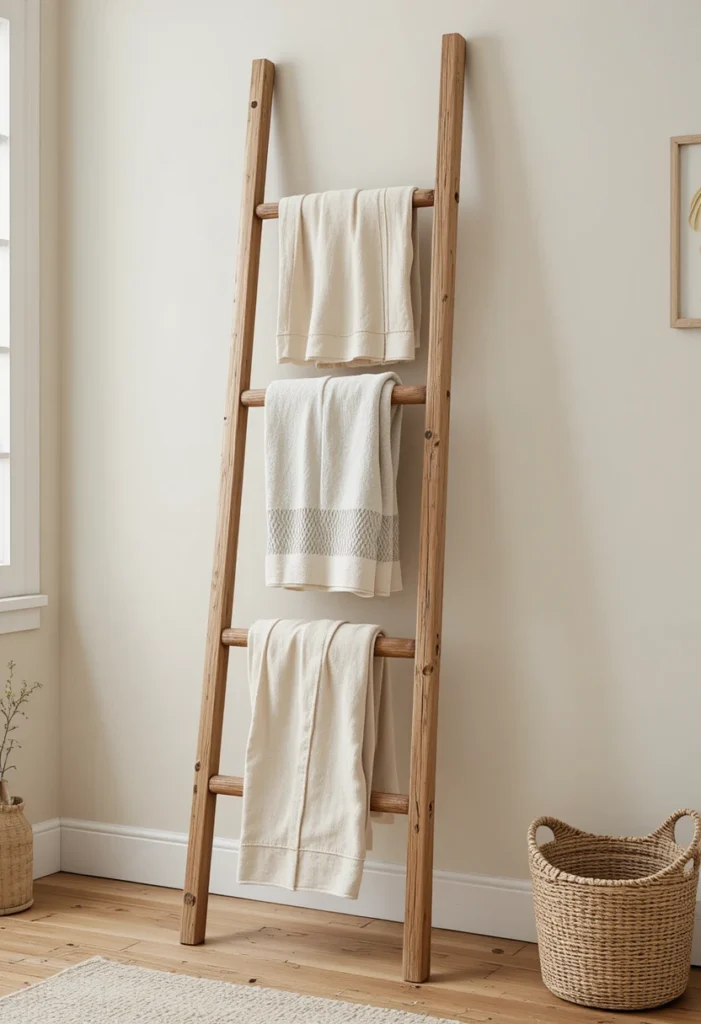
4. Turn a Wooden Ladder Into a Blanket or Towel Rack
Difficulty: Beginner | Cost: $0–$25
Told you this one was coming. An old wooden ladder, leaned against the wall or hung horizontally, instantly becomes storage for blankets, towels, or magazines. Sand it back, add a coat of stain or leave it raw for a farmhouse look, and you’re done no cutting, no measuring, no plumbing.
Pinnable image idea: a vertical shot of the ladder leaned in a cozy reading nook, draped with two folded blankets.
Read Also: Nestly Home Deco
5. Turn an Old Door Into a Statement Headboard
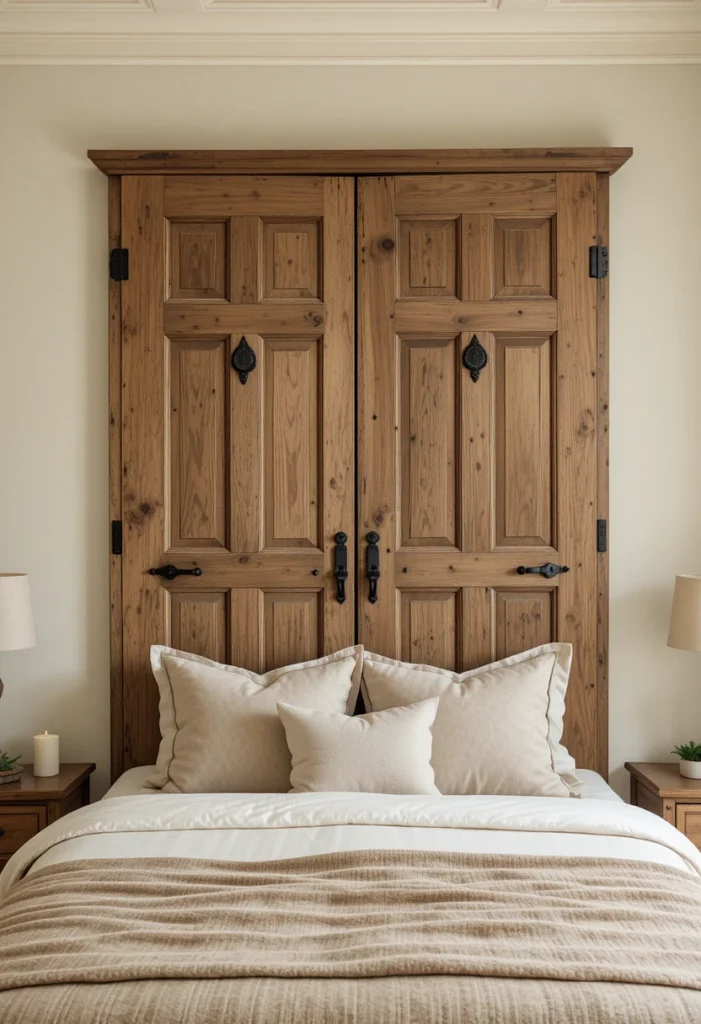
Difficulty: Moderate | Cost: $0–$60
A salvaged panel door, mounted horizontally or vertically behind a bed frame, creates a headboard with more architectural character than anything you’ll find at a furniture store. Paint it a bold color, or strip it back to raw wood for a rustic look.
But there’s a catch: always mount the door to wall studs, not drywall anchors alone a full-size door is heavier than it looks.
6. Build a Coffee Table From Wine Crates
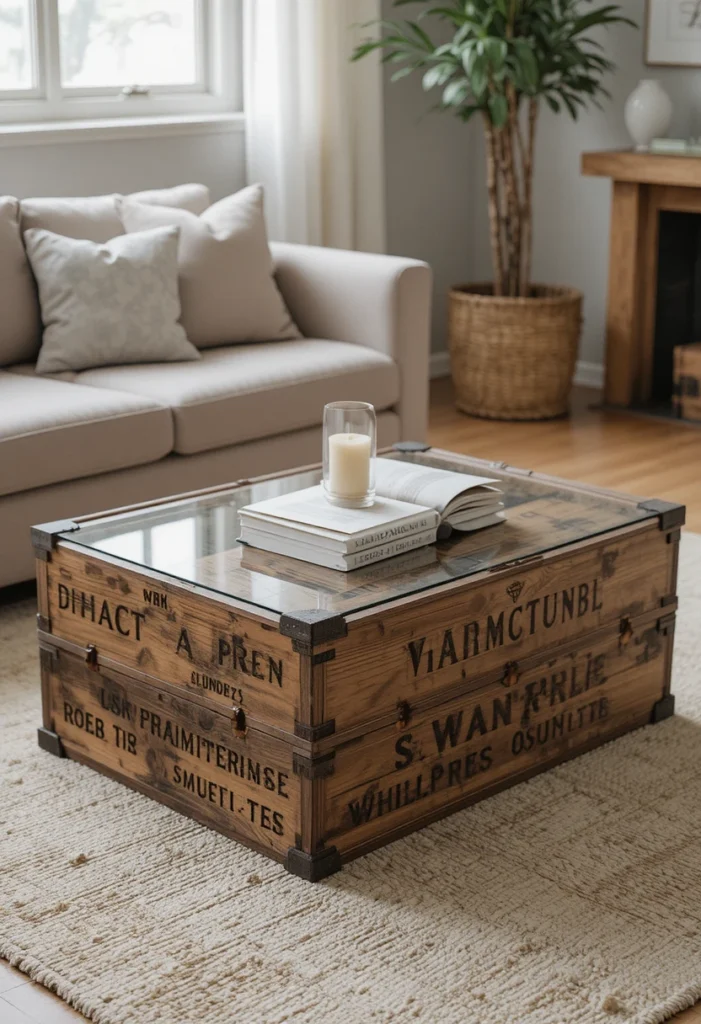
Difficulty: Easy | Cost: $30–$70
Four wine crates arranged in a square, topped with a cut piece of plywood or reclaimed wood, form a coffee table with built-in storage cubbies. It’s one of the most budget-friendly builds on this list and requires zero advanced carpentry.
7. Turn a Broken Chair Into a Plant Stand
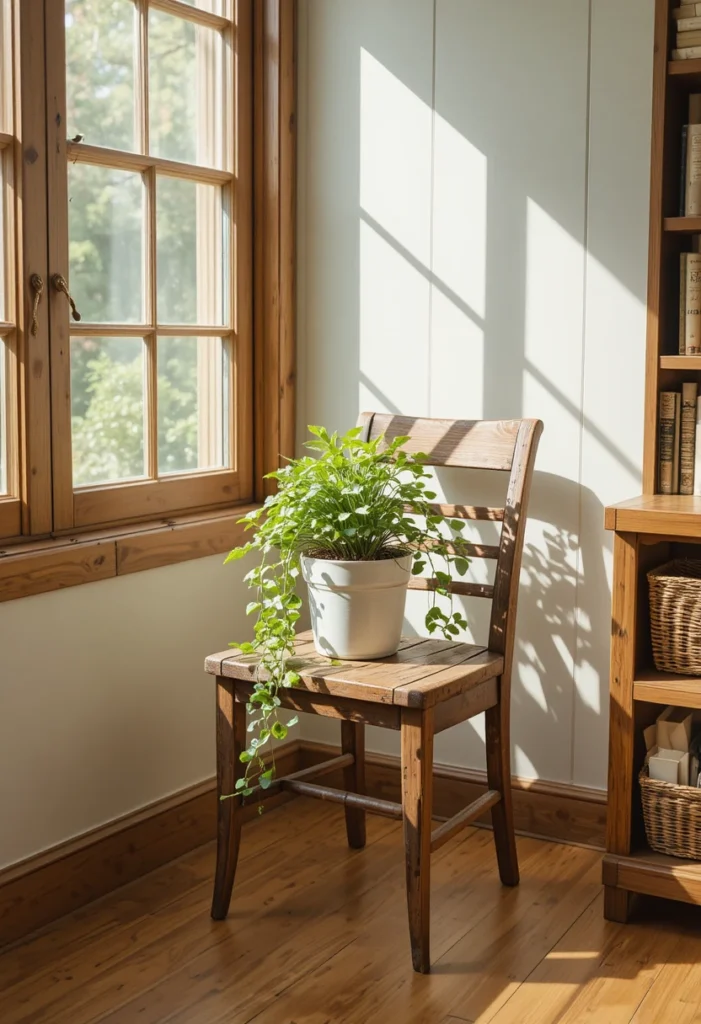
Difficulty: Beginner | Cost: $0–$15
Got a chair with a busted seat that’s otherwise structurally fine? Remove the seat entirely and drop in a potted plant, or cut a hole just large enough for the pot to nestle through. It’s an instant, quirky plant stand that costs almost nothing.
Pinnable image idea: a chair-turned-planter styled on a porch with trailing greenery spilling over the seat edge.
8. Wallpaper the Drawers of an Old Nightstand
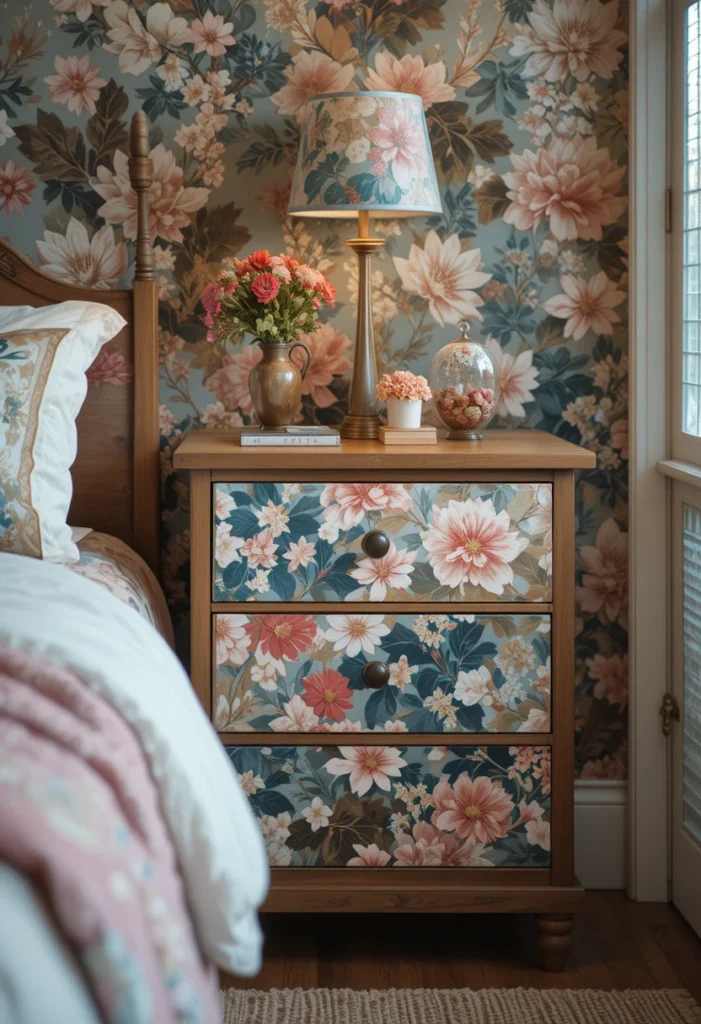
Difficulty: Easy | Cost: $20–$45
Peel-and-stick wallpaper on just the drawer fronts of a plain nightstand paired with a solid paint color on the body creates a designer look for a fraction of the price. This works especially well on pieces with simple, flat drawer fronts.
Save this trick: peel-and-stick wallpaper on furniture is far more forgiving (and removable) than traditional wallpaper, so it’s a great low-risk way to experiment with pattern.
9. Turn Wood Pallets Into an Outdoor Bench
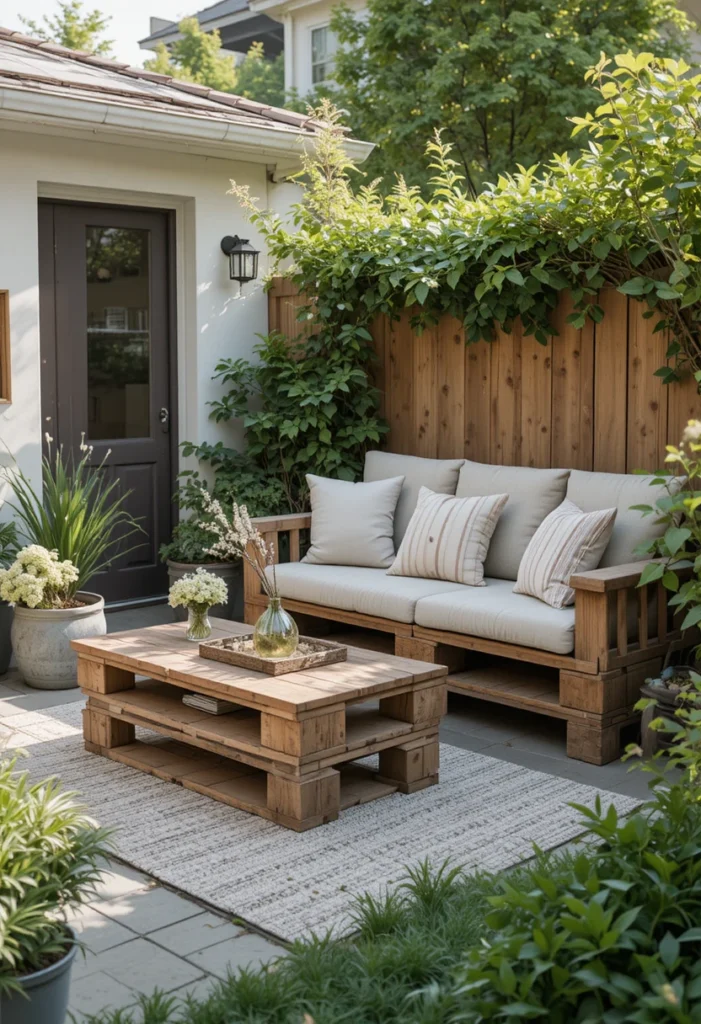
Difficulty: Moderate | Cost: $0–$50
Free pallets, sanded smooth and reinforced, can be stacked and bolted into an outdoor bench or daybed frame. Add weatherproof cushions and you’ve got patio seating that would cost several hundred dollars new.
10. Turn an Old Window Frame Into Wall Art or a Mirror
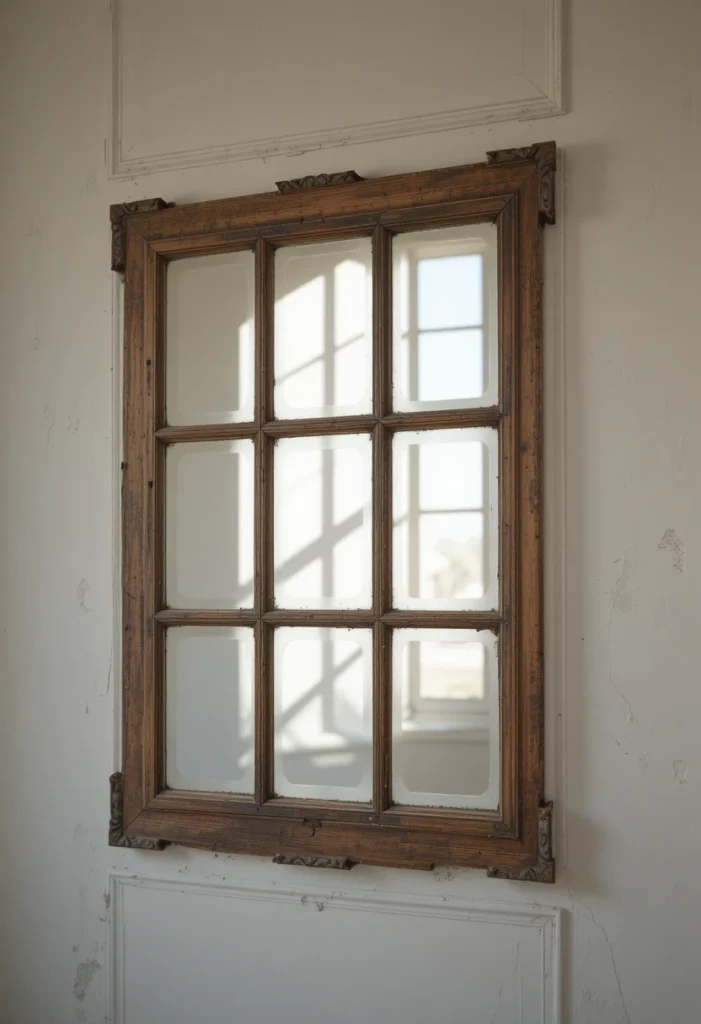
Difficulty: Easy | Cost: $10–$60
A salvaged multi-pane window frame, cleaned up and either mirrored behind each pane or left as a frame around a piece of art, is one of the most popular farmhouse-style upcycles for a reason: it’s nearly foolproof.
Pinnable image idea: a close-up vertical shot showing the individual mirrored panes catching natural light.
11. Turn a Filing Cabinet Into a Kitchen Island Base
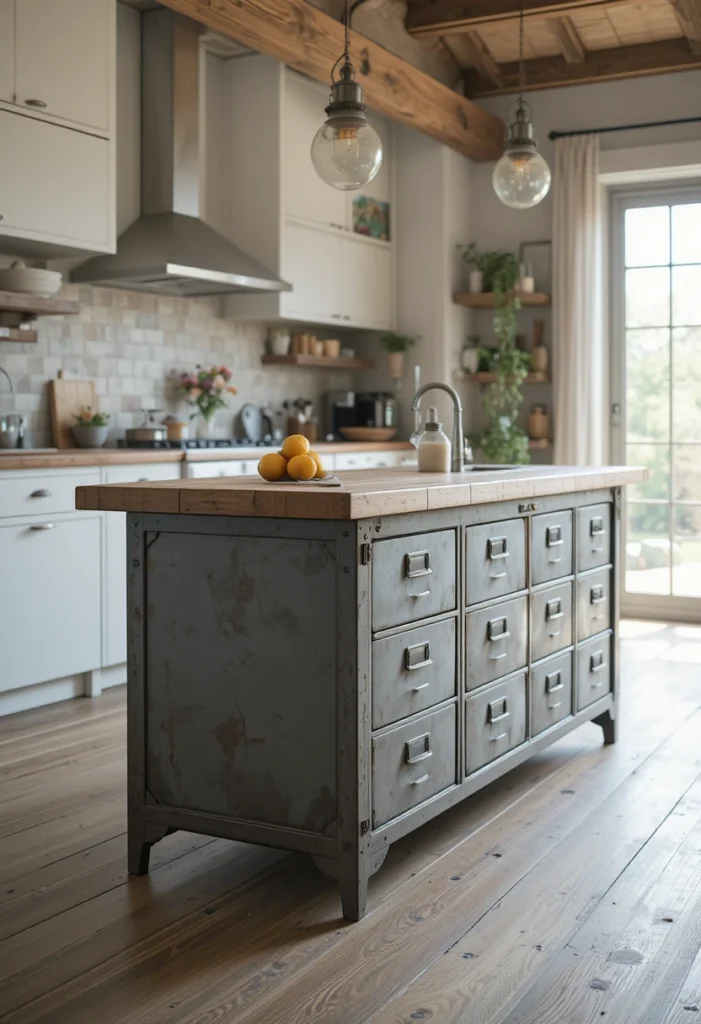
Difficulty: Moderate | Cost: $40–$120
A sturdy metal filing cabinet, spray-painted and topped with a butcher block slab, becomes a rolling kitchen island with built-in storage drawers. This is a favorite among small-kitchen renters because it’s fully removable.
12. Turn a Luggage Rack Into a Side Table Base
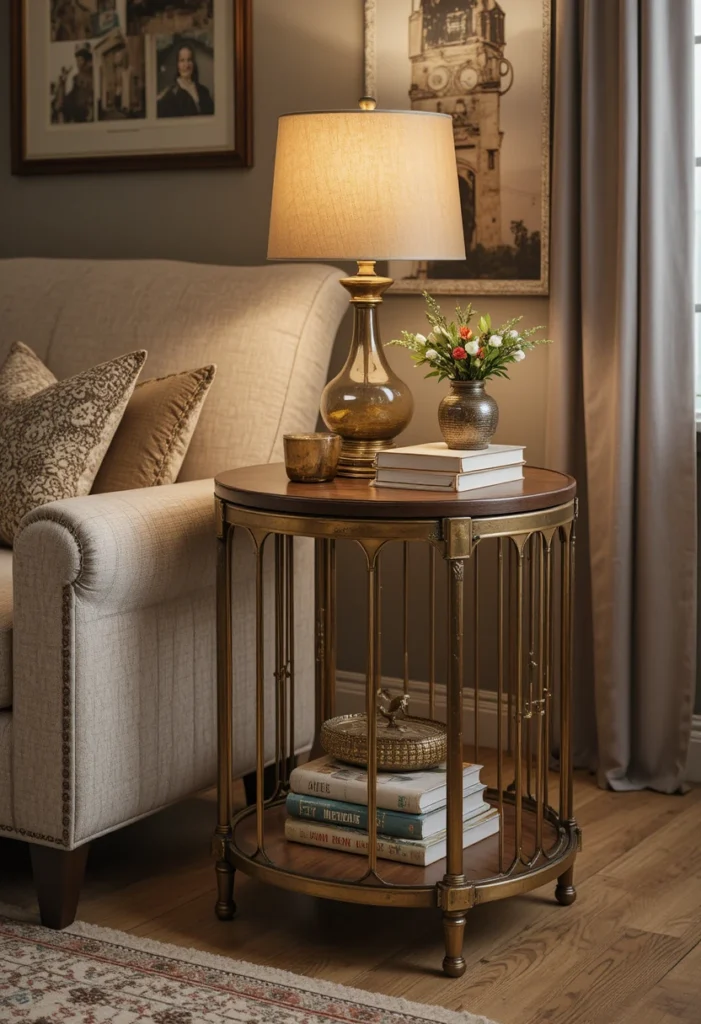
Difficulty: Beginner | Cost: $10–$30
A folding wooden luggage rack, topped with a salvaged tray or cut wood panel, becomes an instant side table or plant stand and it folds flat for storage or moving, which most furniture can’t do.
13. Turn a Metal Toolbox Into a Coffee Table
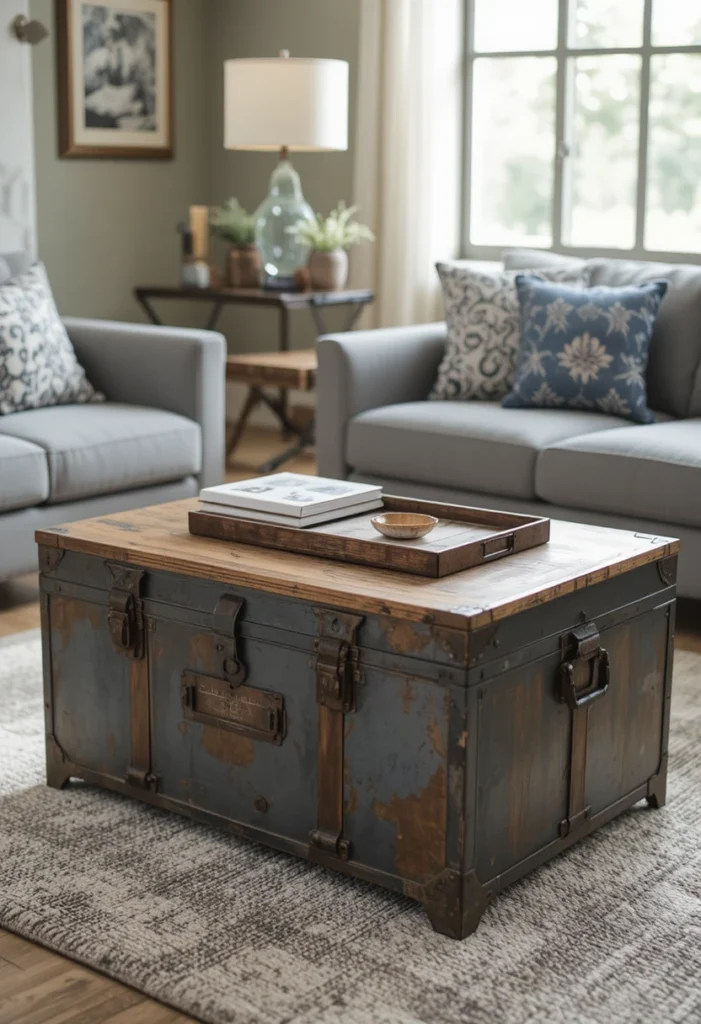
Difficulty: Easy | Cost: $20–$50
A vintage metal toolbox mounted on hairpin or pipe legs makes a strikingly industrial coffee or side table. The existing compartments inside stay usable for remotes, coasters, or craft supplies.
Here’s the thing: avoid drilling directly into an enamel or painted metal top attach legs to a wood base plate underneath instead to protect the finish.
14. Turn a Wicker Trunk Into a Storage Bench
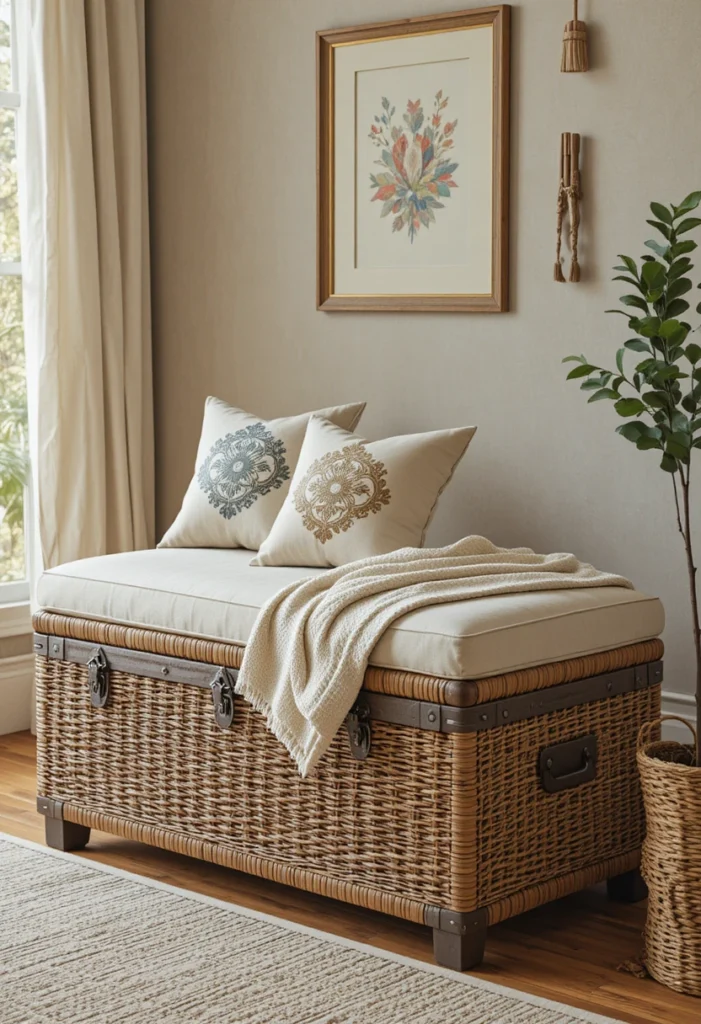
Difficulty: Easy | Cost: $15–$40
An old wicker or rattan trunk, given a fresh coat of paint and topped with a cushion, becomes a storage bench for an entryway or the foot of a bed. It’s functional, sturdy, and one of the fastest transformations on this list.
Upcycling Safety & Prep Tips (Don’t Skip This)
A few things competitors’ roundups tend to leave out, but that matter a lot:
- Test for lead paint on any furniture made before 1978 before sanding sanding releases dust that shouldn’t be inhaled.
- Work in a ventilated space any time you’re using spray paint, stain, or polyurethane.
- Check structural joints before committing to a design a wobbly leg or loose joint should be re-glued and clamped before painting, not after.
- Start small. A nightstand or side table is a better first project than a full dresser-to-vanity conversion.
Frequently Asked Questions
Is upcycling furniture actually cheaper than buying new?
In almost every case, yes. Even accounting for paint, hardware, and tools, most projects on this list cost 60–80% less than a comparable new piece, and the underlying furniture is typically higher quality solid wood.
What’s the best paint for upcycled furniture?
Chalk and mineral paints are the most beginner-friendly because most require no sanding or priming beforehand, though a light sand always improves durability.
Where can I find furniture to upcycle for free or cheap?
Curbside “free” piles, local buy-nothing groups, estate sales, and thrift stores are the most reliable low-cost sources. Weekday mornings tend to have the freshest thrift store inventory.
How long does a typical upcycle project take?
Beginner projects like the ladder rack or wallpapered nightstand can be finished in an afternoon. More involved builds, like the dresser-to-vanity conversion, are better spread across a weekend to allow paint and sealant to fully cure.
Final Thoughts
The best part of upcycled furniture isn’t just the money saved it’s that no two finished pieces ever look quite the same. Start with one easy project from this list, whether that’s the ladder rack or the wallpapered nightstand, and you’ll likely find yourself eyeing every curbside pile a little differently from now on.
Pin this guide so you have it ready the next time you spot a piece worth saving.